WHAT IS A PROCESS MAP?
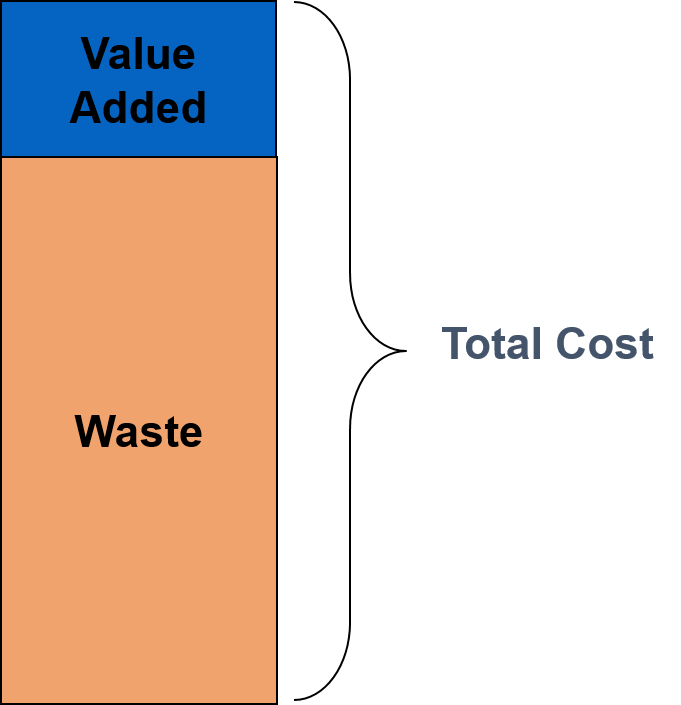
Process Map is a visual tool used to illustrate the steps in a process. This tool is useful for streamlining operations and improving efficiency, as it helps identify area’s with high process waste.

VALUE-ADDED (VA) / NON-VALUE ADDED (NVA)
Value-Added Activities directly contribute to customer value/needs, while Non-Value Added often represent the 7 Wastes. Identifying and eliminating Non-Value Added Activities helps streamline processes and reduce these wastes. One method to mapping these activities is a variant of process maps known as Value Stream Maps.

MAP SYMBOLS
RECTANGLE
Often the starting point in a process map, the rectangle symbolizes a process step or activity. It’s where the action happens, such as “Receive Order” or “Review Document.”
DIAMOND
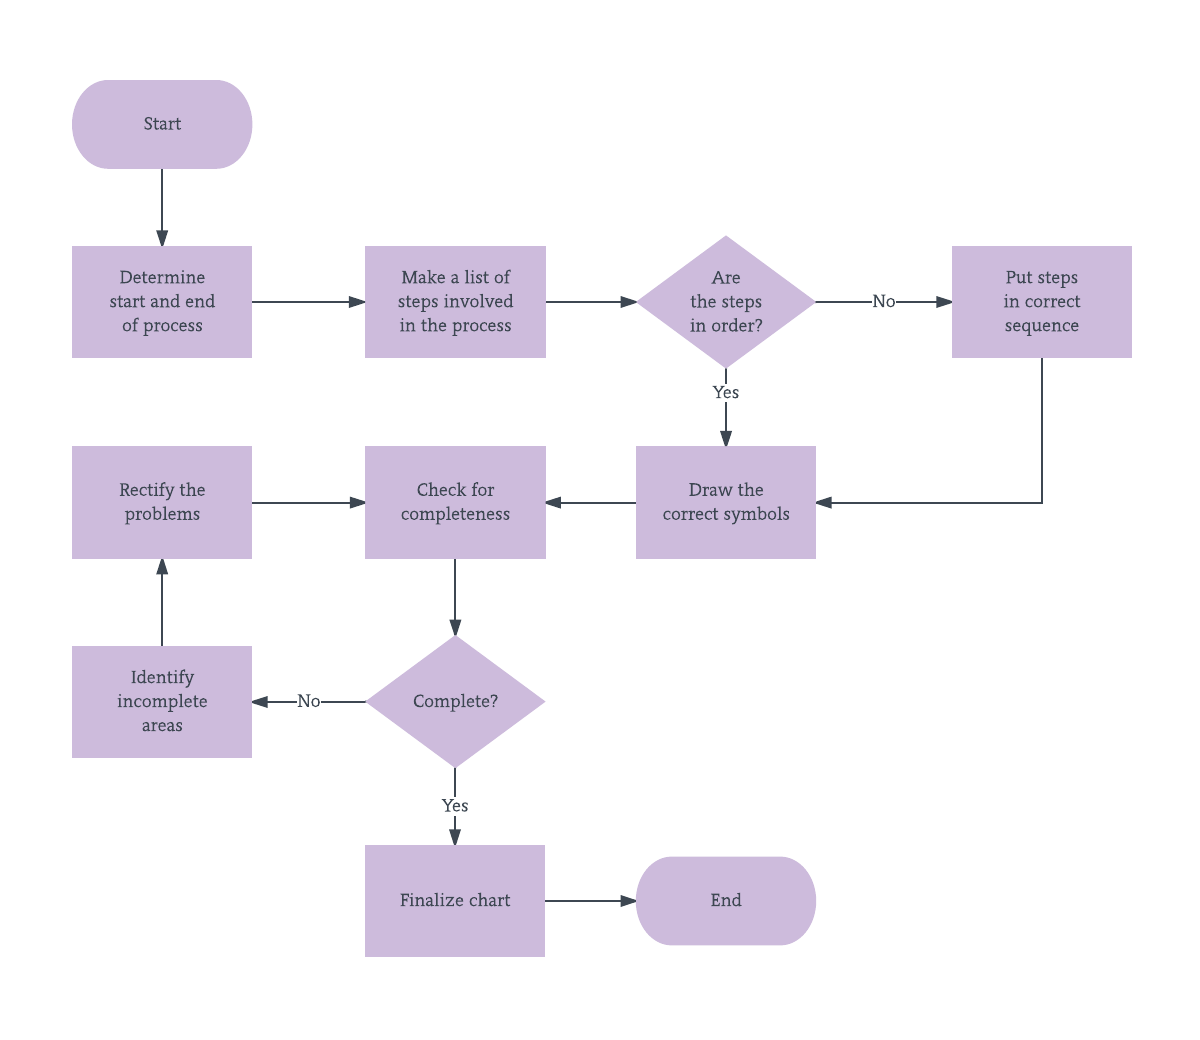
This symbol represents a decision point in the process. It’s where choices are made, branching the flow of the process based on conditions. For instance, “Is the product defective?” could lead to two paths: “Yes” and “No.”
OVAL
An oval signifies the start or end of a process. It marks where the journey begins or concludes, such as “Start” or “End.”
CIRCLE
A circle denotes a connection to another part of the process map, often used when a process spans multiple pages or sections.
TRIANGLE
A triangle symbolizes storage of information, like a database or data repository. For instance, “Customer Database” might be represented by a triangle.
ARROW
Arrows indicate the flow of the process from one step to another. They connect symbols to show the sequential order of activities.
PARALLEL LINES
When you see parallel lines, it indicates a document or report associated with a process. For instance, “Generate Report” might be represented by parallel lines.
HOW TO PERFORM A PROCESS MAP?
1. IDENTIFY YOUR PROCESS
First things first, let’s pick a process to map out. It could be something as simple as making your morning coffee or as complex as revamping the entire customer support system at work. Choose wisely, my friend.
2. FORM YOUR TEAM (OPTIONAL)
If you’re working on a process that involves multiple people or departments, it might be a good idea to gather the troops for this mapping adventure. More brains means more perspectives, and that’s always a good thing.
3. START MAPPING
Start Mapping Grab a piece of paper, a whiteboard, or your favorite digital mapping tool – whatever floats your boat. Now, begin by jotting down the first step of your process. Let’s say it’s “Gather ingredients” for our morning coffee example.
4. CONNECT THE DOTS
Connect the Dots Once you’ve got your first step down, it’s time to add the next one. Think about what comes next logically in the process. Maybe it’s “Grind coffee beans” or “Boil water.” Draw a line connecting each step to show the flow from one to the next.
5. ANALYZE WASTES AND IMPROVEMENTS
Once your map is complete, go step by step to identify the different Wastes in the Process. Mark the Wastes with a Red Note and a corresponding Improvement idea with a Blue Note.
Once completed you should have something similar to the below image:
